Assembly Ken's Backyard Wood Shed October 27, 2007
Click here to return to the Shed Page.
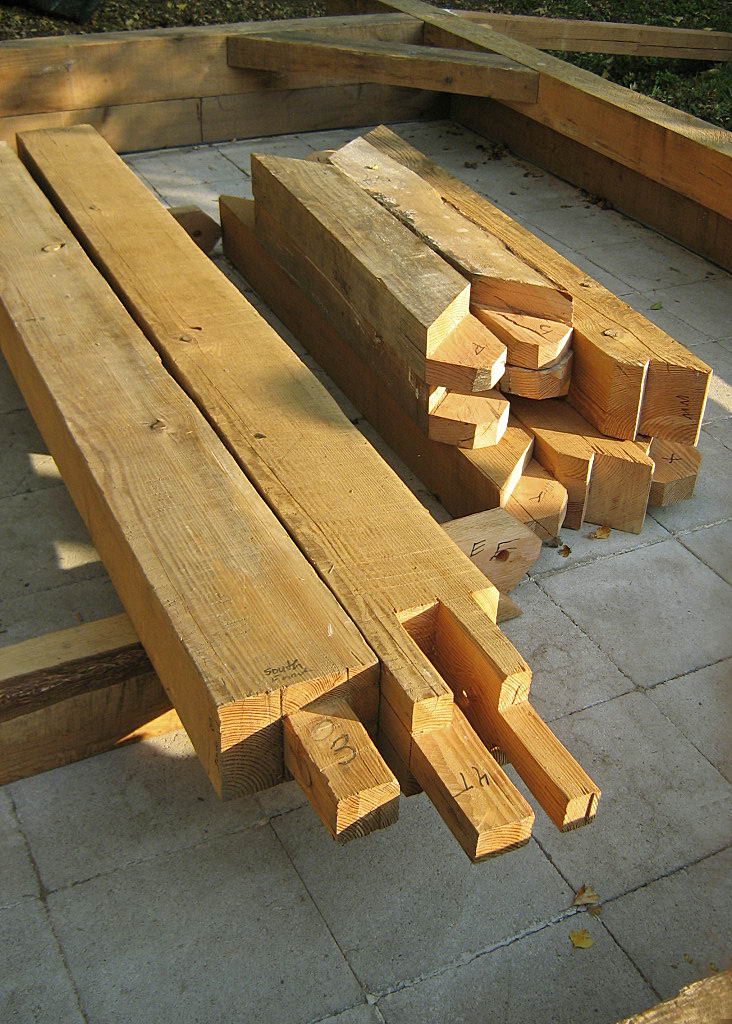
It all began at 9:30 am and looked as follows:
We were ready to start the shed raising. All the pieces are cut, and ready to assemble. You can see one bent (2 posts and one top plate are connected by braces in the upper corners). The bent is ready to lift into place for one wall.
Here you can see the details of the tenons on the top and bottom of the posts and the tenons cut on the braces. In the background is the corner of the assembled bent laying on the sills.
Above you can see the wooden trunnels (1" diameter pegs) that hold the tenons in their mortices. Note: the two tenons protruding from the top of the side plate that will connect to the end plate.
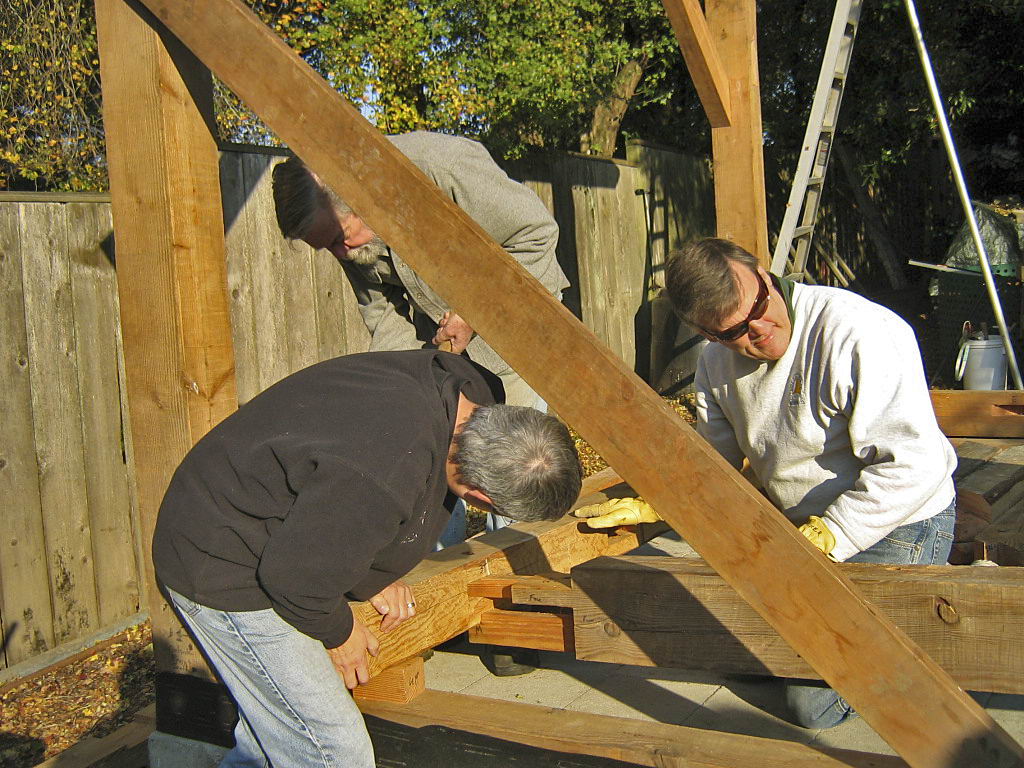
Below is a detail of the corner post ready to insert into a mortise in the sill plates.
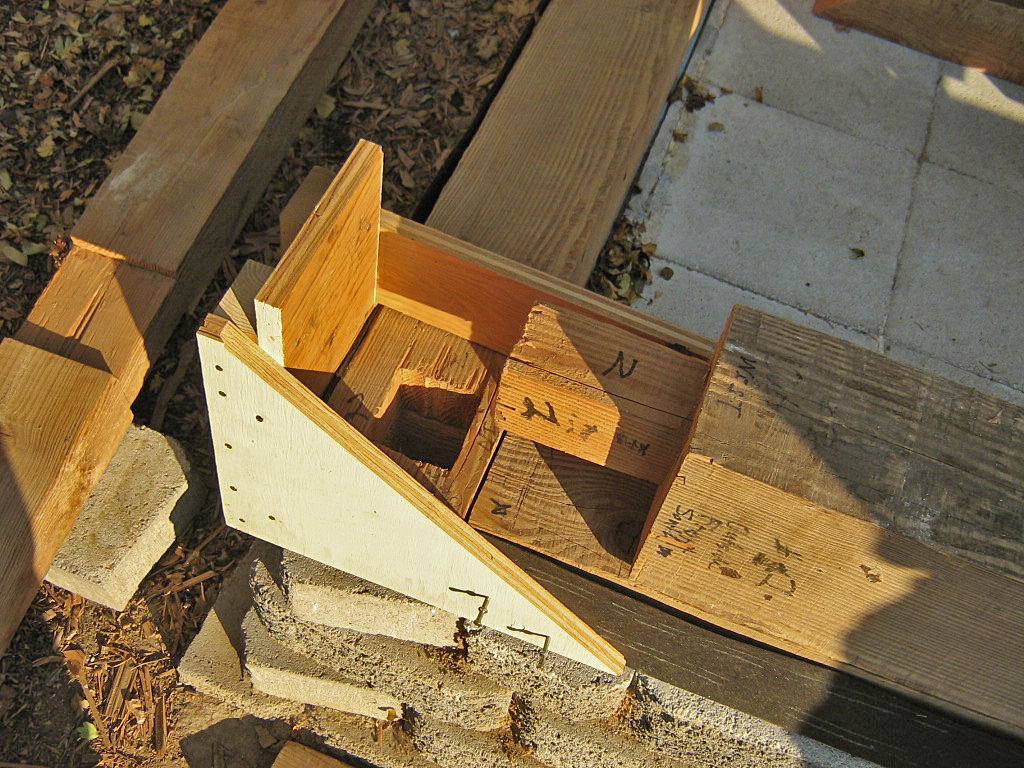
The corners, where the tenons on the bottom of the posts will go, are braced with a jig to keep the post aligned when we raised up the bent (side wall framework).
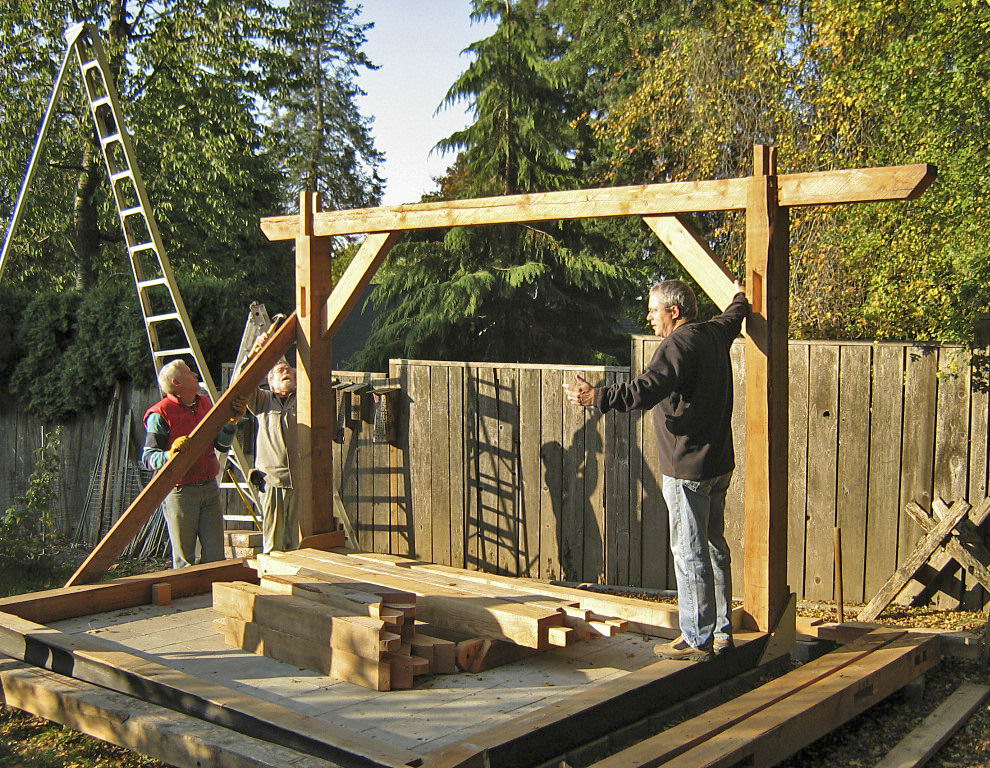
At 9:40 am we got the first bent in place and nailed on a brace to hold it vertical. Bob Minor and Mike Miles were part of the 8 of us that got this wall up in minutes without any problems. It surprised us all!
Here Mike, Bob, and Dick Tasker are inserting the tenons on a post into the next top plate to make a bent.
Here Ken is pounding in the trunnels (wooden pegs) to hold the brace in place. This framework is not fastened with any nails.
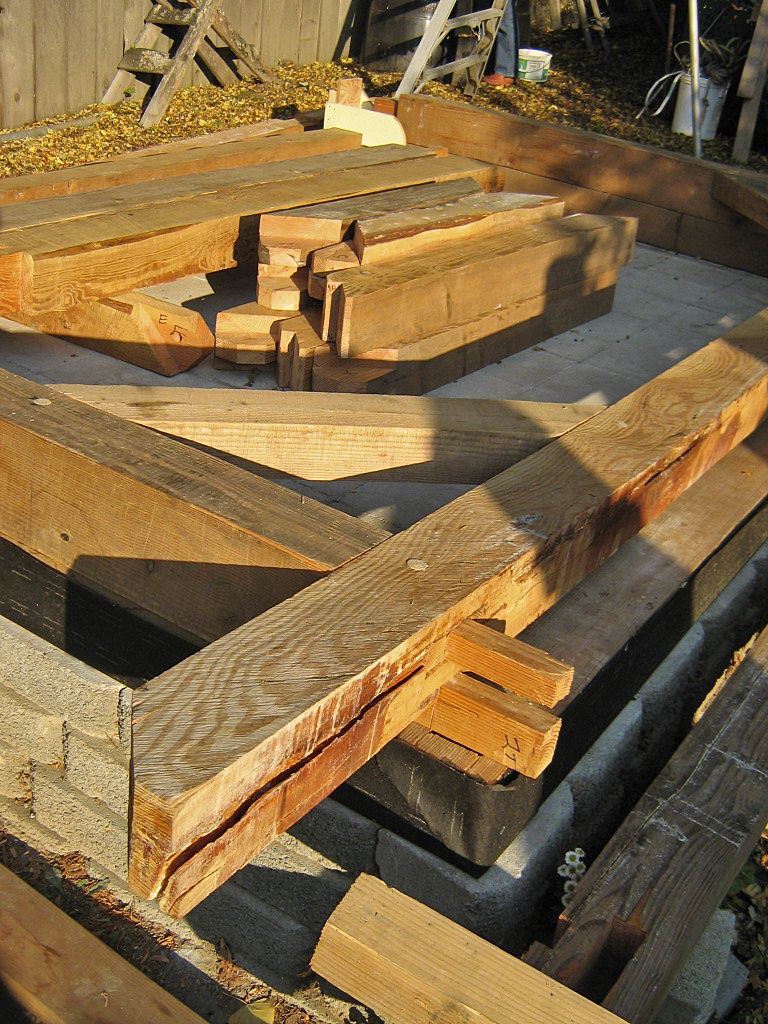
After we raised up the second bent, we were ready to put on the first plate on the end to hold the 2 sides together. You can see how the braces are placed into mortices (holes) in the plates and posts.
Then we lifted the other end plate into place.

Here you can see the mortices in the end plate for the post tenons and the braces. We are ready to complete the box framework for the shed.
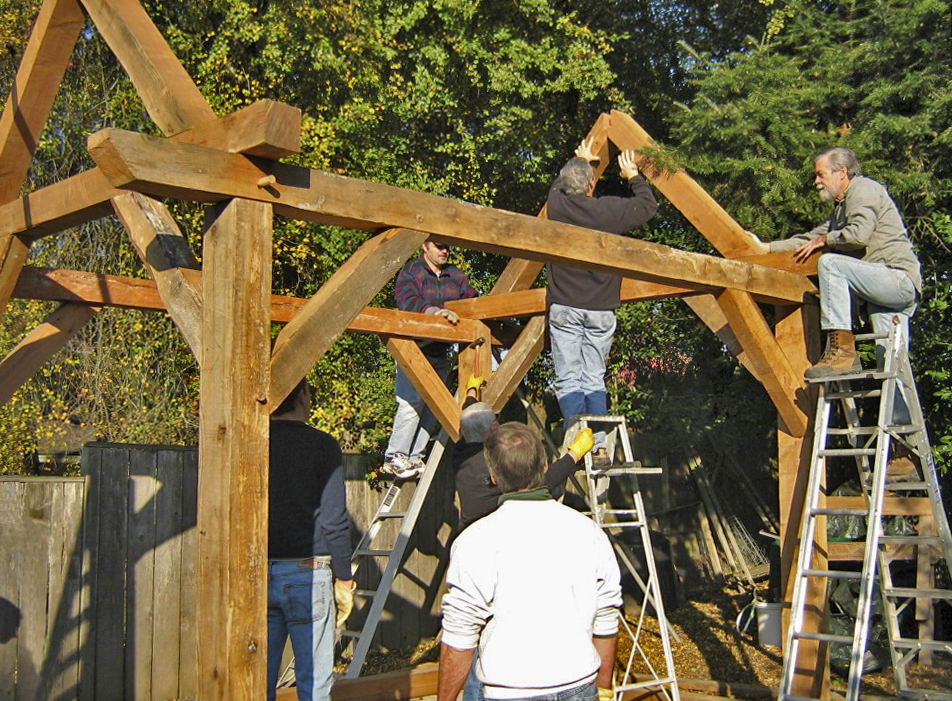
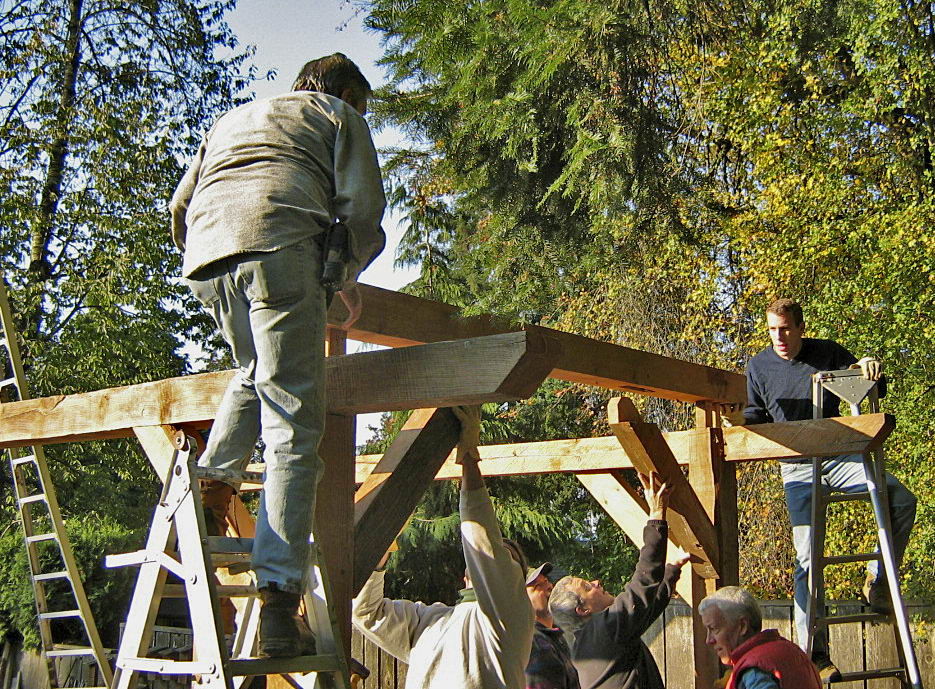
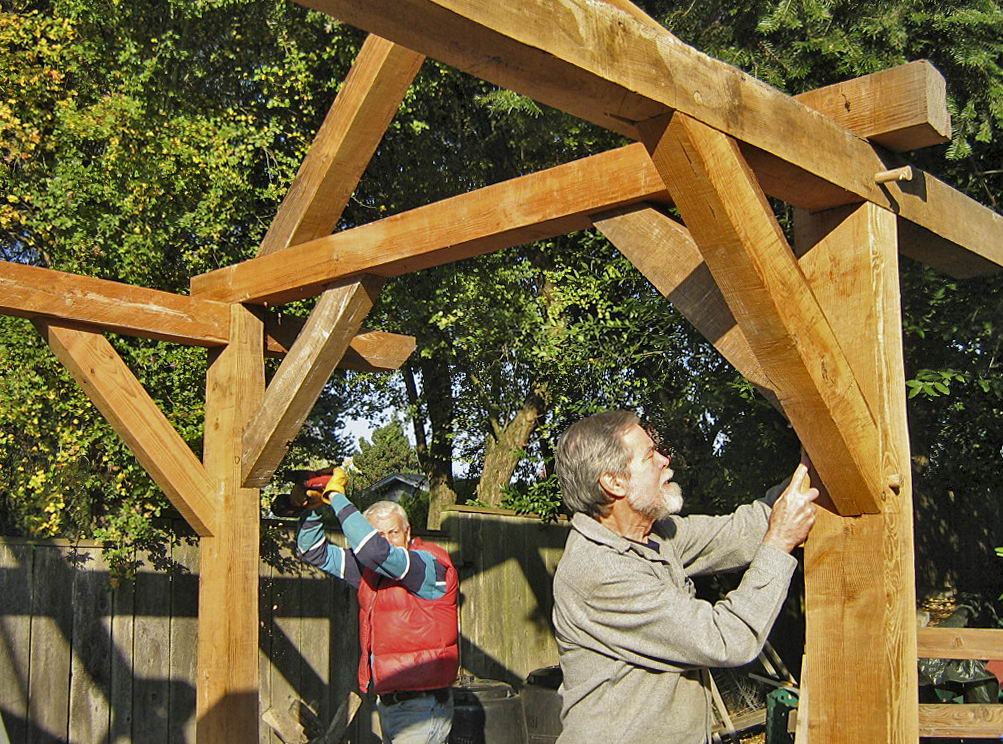
Next we added braces to hold up the ridge plate.
Here we lift the 16' 5"x6" nearly 14 feet up for the ridge plate.
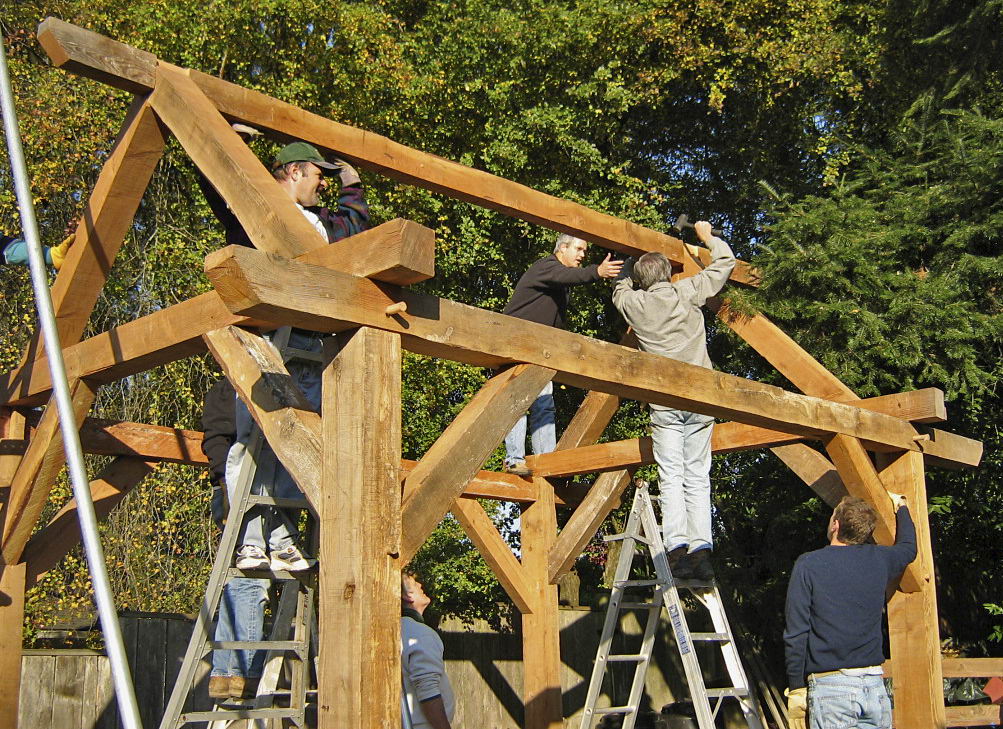
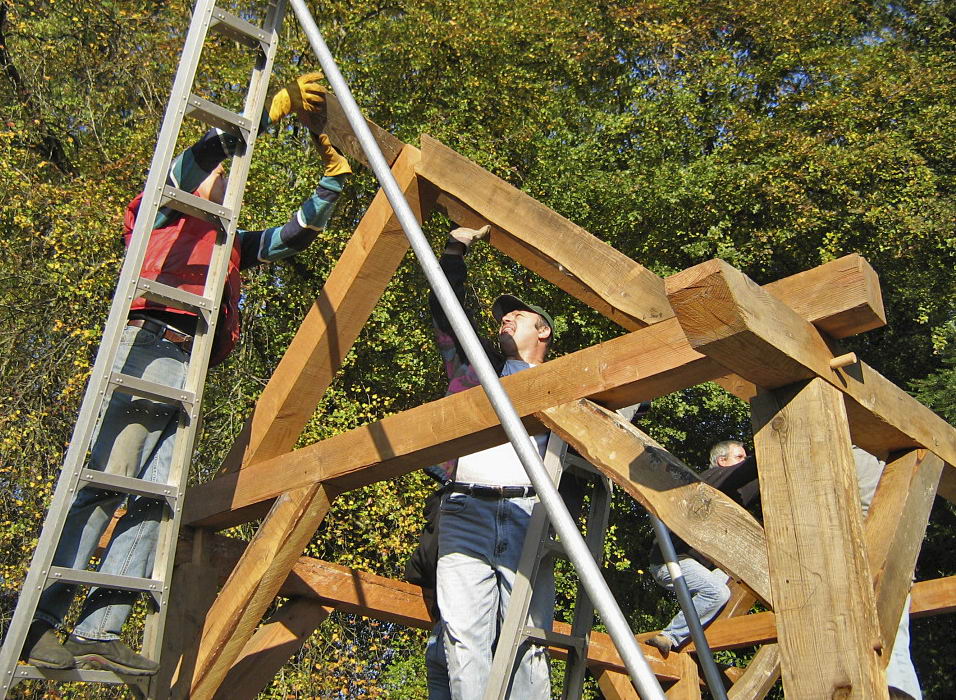
It takes some banging to fit the joints on the ridge plate.
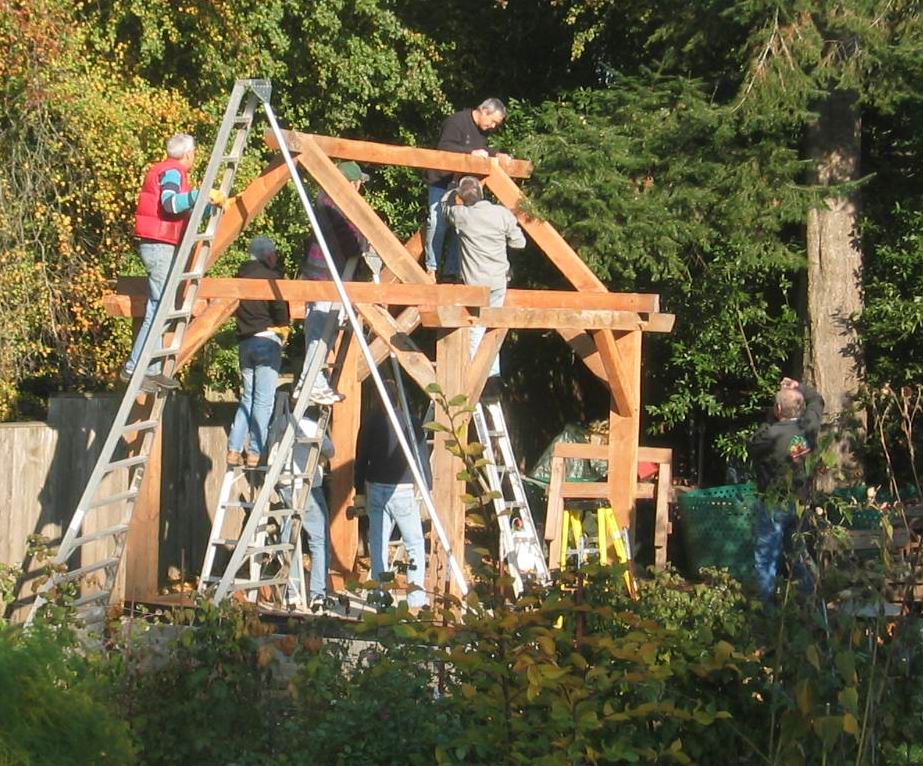
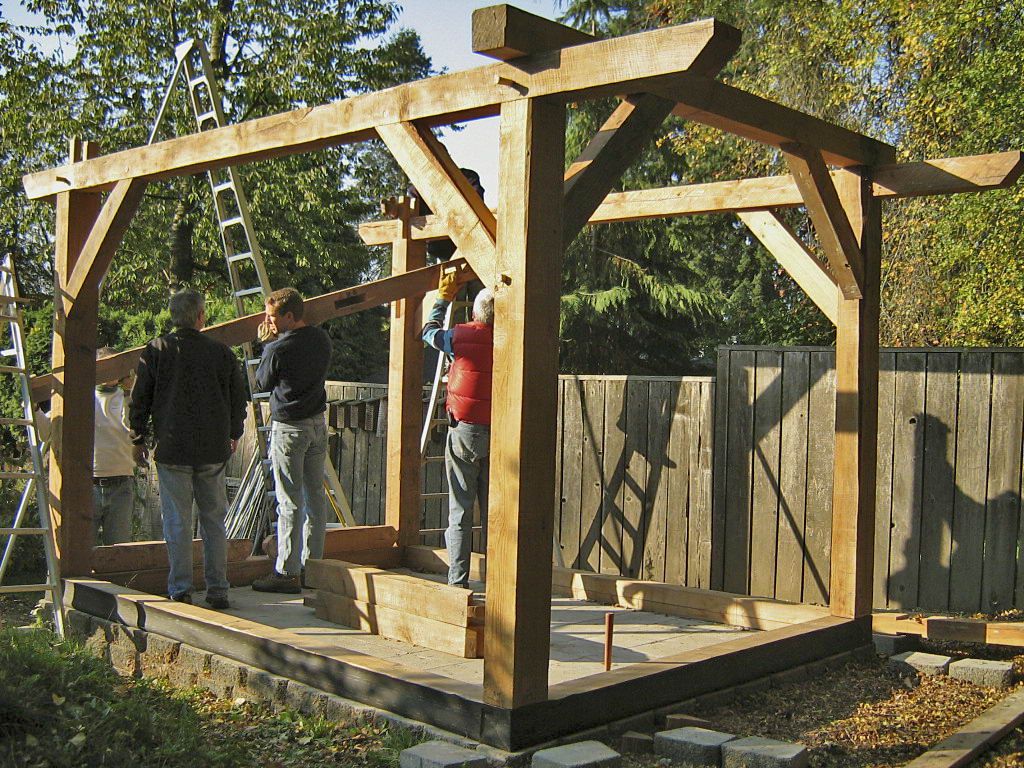
Installation of the ridge pole. The last piece to assemble. Note: there are no nails in the structure a this point. It is held together by mortice and tenon joints and one inch oak pegs. We assembled the long sides on the ground and raised them to vertical before placing the short end plates on top to complete the basic box. Then we placed the supports for the ridge pole and raised the ridge pole and dropped it into place.
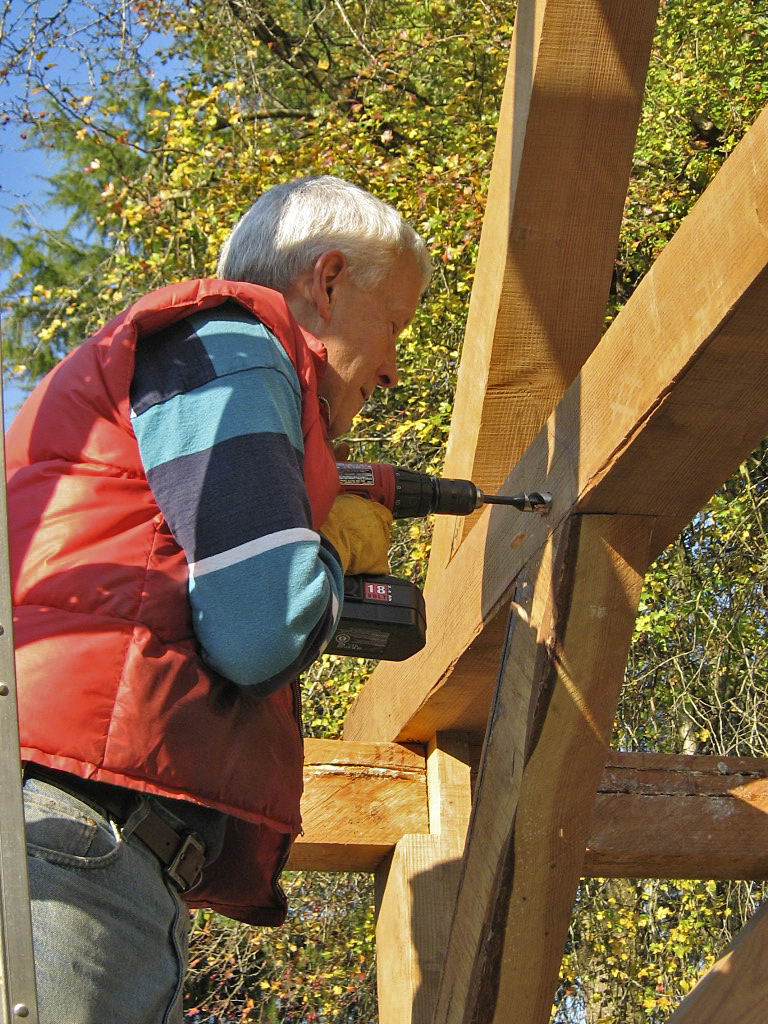
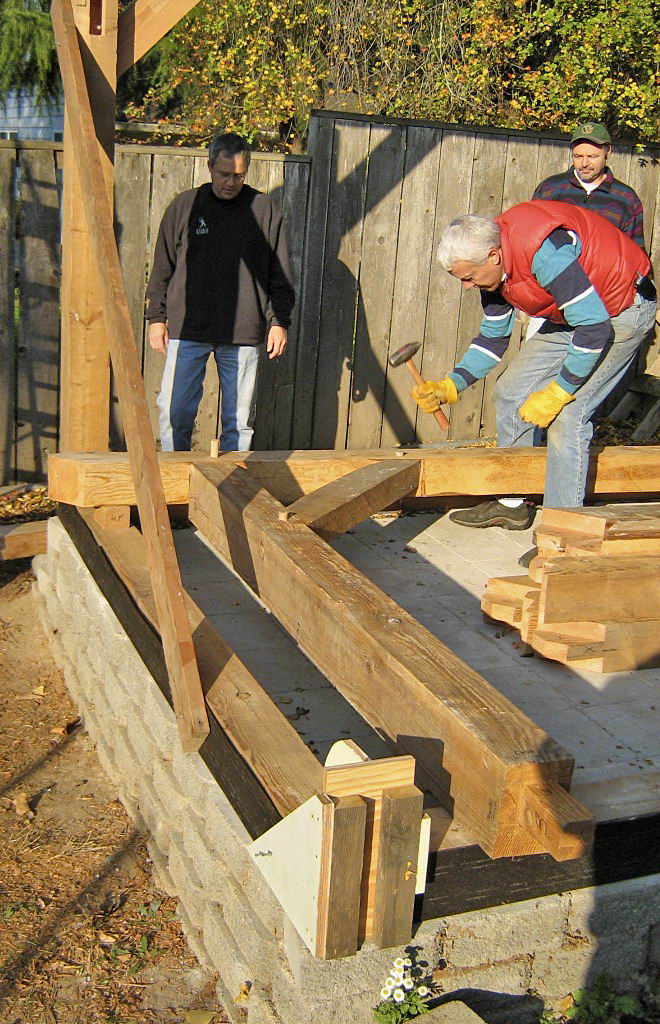
We had to drill holes for the trunnels in many places to complete the structure.
Here Bob drives in a trunnel while I drill another hole.
Credit for many of the photos goes to: Loren Nelson of Loren Nelson Photography